Identify the Cabinet Format
Start with the model and assembly manual. A flat-pack upright cabinet, a unit with a separate base and an almost-complete machine arrive at different stages. Include the number of boxes and photos of any assembly already started. List supplied accessories or extra cabinet pieces so the request reflects the whole purchased unit rather than only the main box.
Check the Path Into the Game Area
The final cabinet position should be considered before panels are joined. Share doorway widths where access is tight, turns on stairs, elevator restrictions and the delivery location. An assembled cabinet may not take the same route as its individual pieces. If you need an existing machine moved, dismantled or reassembled, describe that work separately from putting together a new kit.
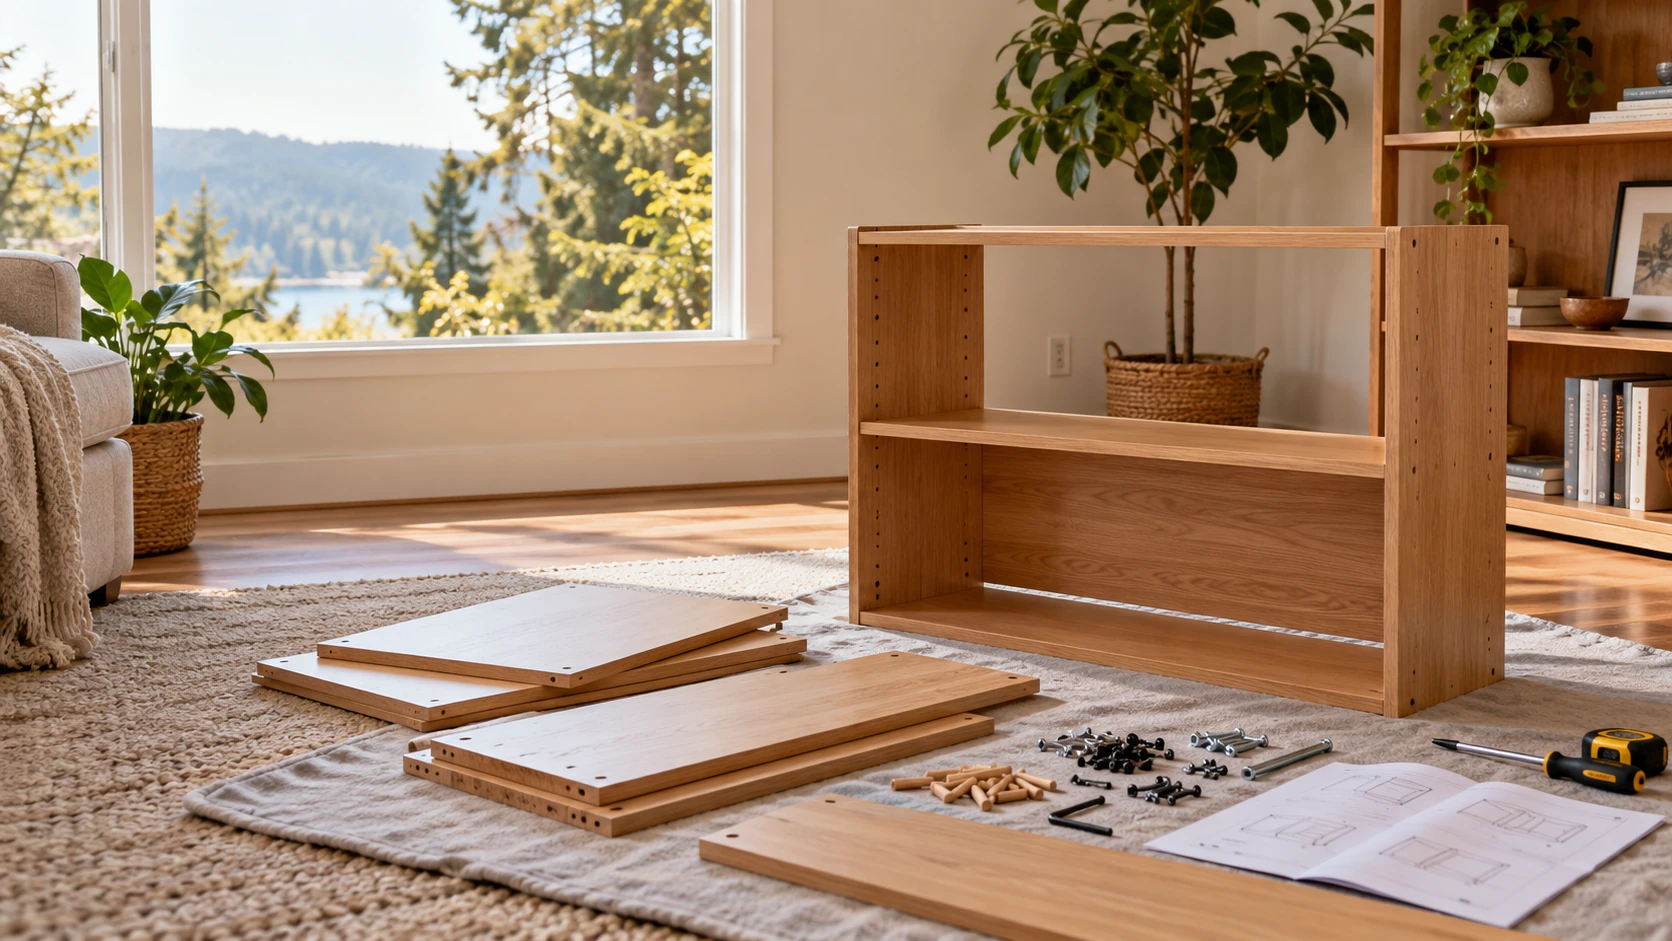
Make room to lay cabinet panels on a protected surface without leaning artwork or screen sections against nearby furniture. Point out delicate flooring and tight corners along the route. Keeping the build area near the intended position reduces the need to carry or slide a completed cabinet past walls and door frames.
Allow Space for Players and Openings
Look at the cabinet's complete dimensions, including any base, projecting controls or attached seating supplied with the model. Consider where players will stand and how nearby doors will open. The room also needs practical access to the connections or panels described in the manual. For a mixed recreation room, arcade and game table assembly lets you identify the other equipment involved.
Assemble the Cabinet and Supplied Components
The assembly follows the kit instructions for panels, supports, control sections and other packaged parts. Alignment and the fit of the supplied components are reviewed without treating damaged pieces as an installation adjustment. Keep the documentation and labeled hardware together. Missing model-specific brackets, supports or fasteners must be resolved before the affected assembly step; a similar-looking substitute may not support the cabinet as designed. Artwork or trim supplied as part of the kit should be mentioned in advance, particularly when it affects the assembly sequence.
Keep Electronics and Anchoring Clearly Scoped
Non-electrical final setup is distinct from repairing a screen, replacing circuit boards, modifying wiring or diagnosing game faults. Identify the product's supplied connections and any anchoring requirement before work begins. A new outlet or permanent electrical change is outside this service. If a unit is incomplete or damaged, describe the issue rather than booking it as straightforward assembly.
Prepare the Cabinet for Handoff
Final review considers the cabinet's stability, alignment, installed controls and agreed location. Leveling feet are used where supplied, and access panels should fit without forcing. If the manual requires anti-tip attachment, the supporting surface and fastening must be resolved before the cabinet is treated as ready for use. Pinball is a separate equipment type; pinball machine assembly provides the relevant starting point, while repair and restoration remain separate questions. Send your arcade model, manual, box count, room photo and access notes. Call WA-GoodHome at (223) 226-1828 or share the project details to discuss your cabinet.